
Sale

When you install one of OceanWP’s prebuilt WordPress templates, you might notice that the default theme settings look a little different. That is because each demo site includes its own customized settings. However, customizing your Woo Popup still follows the same process using the WordPress Customizer. The OceanWP Woo Popup feature lets you create and style an elegant popup that appears right after a user adds a product to their cart. It’s an effective tool to improve user engagement, encourage additional purchases, and increase your overall conversion rate.
You can either use the default Woo Popup layout or design a custom version using a content builder or a template created from OceanWP’s “My Library.” This extension is developed exclusively for WooCommerce, the leading eCommerce plugin for WordPress, and is included as a premium feature in both OceanWP Pro Bundle and Ocean eCommerce Pro packages. By upgrading, you unlock Woo Popup along with many other advanced features, professional templates, and access to priority support from the OceanWP team.
How to Enable and Customize Woo Popup
Once you’ve installed and activated the Woo Popup extension, a new Woo Popup panel will appear in your WordPress Customizer.
For the popup to function properly, you must ensure AJAX Add to Cart is enabled in your WooCommerce settings.
To enable AJAX on WooCommerce archive pages:
-
Go to WordPress Dashboard → WooCommerce → Settings → Products → General.
-
Check the option Enable AJAX add to cart behavior on archives.
To enable AJAX on single product pages:
-
Navigate to Customize → WooCommerce → Single Product → Add to Cart.
-
Enable the AJAX Add to Cart toggle.
OceanWP provides this feature natively, so no additional plugin is required.
Woo Popup Options in the Customizer
Once activated, you will find an extensive list of customization options inside the Woo Popup panel. These include both functional and styling settings so you can completely tailor the popup’s appearance and behavior.
Preview Mode
The Display Popup While Customizing option lets you see a live preview of your popup while making adjustments no need to manually trigger it by adding items to the cart.
Content Builder
This setting allows you to choose which elements appear in your popup and in what order.
You can include:
-
Title
-
Message Content
-
Buttons (Continue Shopping, View Cart)
-
Bottom Text
Title & Content Settings
-
Title Text: Add a custom heading for your popup.
-
Content: Write personalized messages or use shortcodes (including WooCommerce shortcodes) for dynamic content.
Button Customization
-
Continue Button Text: Customize the text for your “Continue Shopping” button.
-
Go Cart Button Text: Personalize your “View Cart” button label.
Bottom Text
Add extra text or shortcodes at the bottom of your popup, such as promotional notes or reminders.
Custom Template
If you have created custom templates in OceanWP → My Library, you can select one to completely replace the default popup content.
Styling and Appearance Controls
OceanWP Woo Popup gives you complete visual control. You can fine-tune dimensions, spacing, borders, and colors to align the popup with your brand.
Size and Layout
-
Width (px): Set the overall popup width.
-
Height (px): Define popup height.
-
Padding (px): Add spacing around content.
-
Border Radius (px): Adjust corner roundness for a sleek, modern look.
Color Options
-
Popup Background: Set the main background color.
-
Overlay Background: Adjust the dim overlay color that appears behind the popup.
-
Check Mark Background & Icon: Customize the color of the success check mark animation.
-
Text Colors: Control colors for title, content, and bottom text.
-
Button Colors: Define separate regular and hover colors for both Continue and Cart buttons (background, text, and borders).
Related products


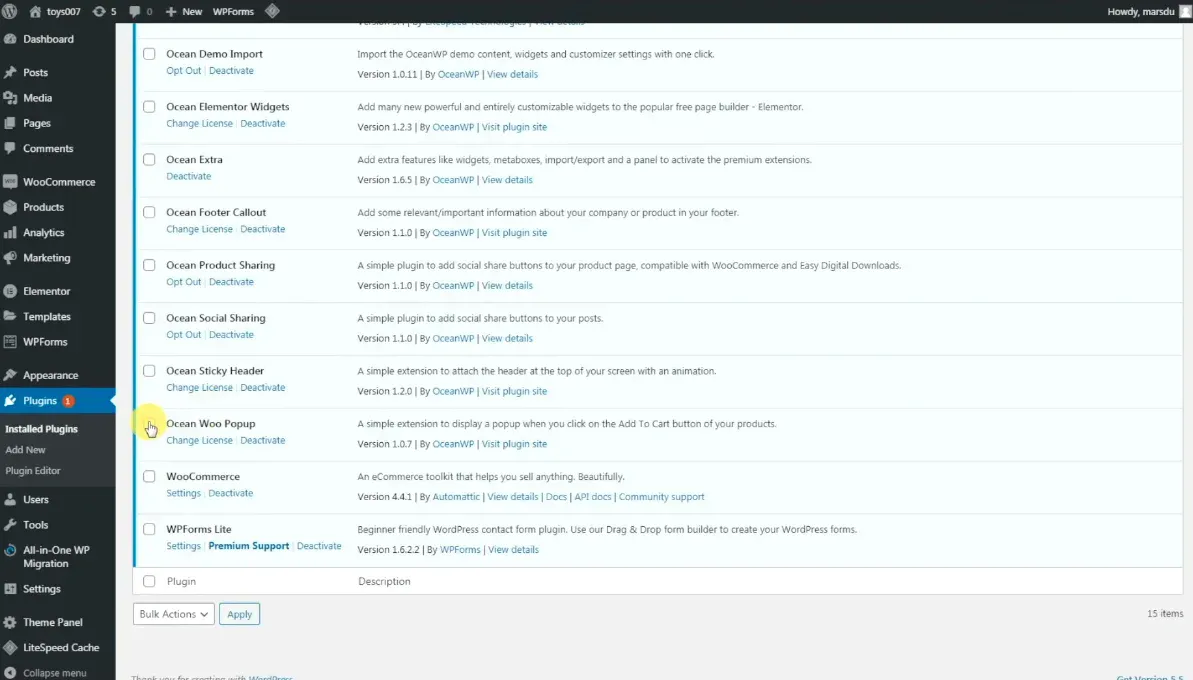
 OceanWP Woo Popup
Original price was: 15,00 $.8,00 $Current price is: 8,00 $.
You may add any content here from XStore Control Panel->Sales booster->Request a quote->Ask a question notification
At sem a enim eu vulputate nullam convallis Iaculis vitae odio faucibus adipiscing urna.
Reviews
There are no reviews yet.